- Afrikaans
- Albanian
- Arabic
- Armenian
- Azerbaijani
- Basque
- Belarusian
- Bengali
- Bosnian
- Bulgarian
- Croatian
- Czech
- Danish
- Dutch
- English
- Esperanto
- Estonian
- Finnish
- French
- Galician
- Georgian
- German
- Greek
- hawaiian
- Hindi
- Hungarian
- Indonesian
- irish
- Italian
- Lao
- Latvian
- Lithuanian
- Luxembourgish
- Macedonian
- Maltese
- Myanmar
- Norwegian
- Polish
- Portuguese
- Romanian
- Russian
- Serbian
- Slovak
- Somali
- Spanish
- Swedish
- Thai
- Turkish
- Turkmen
- Vietnamese

дец . 07, 2024 04:52 Back to list
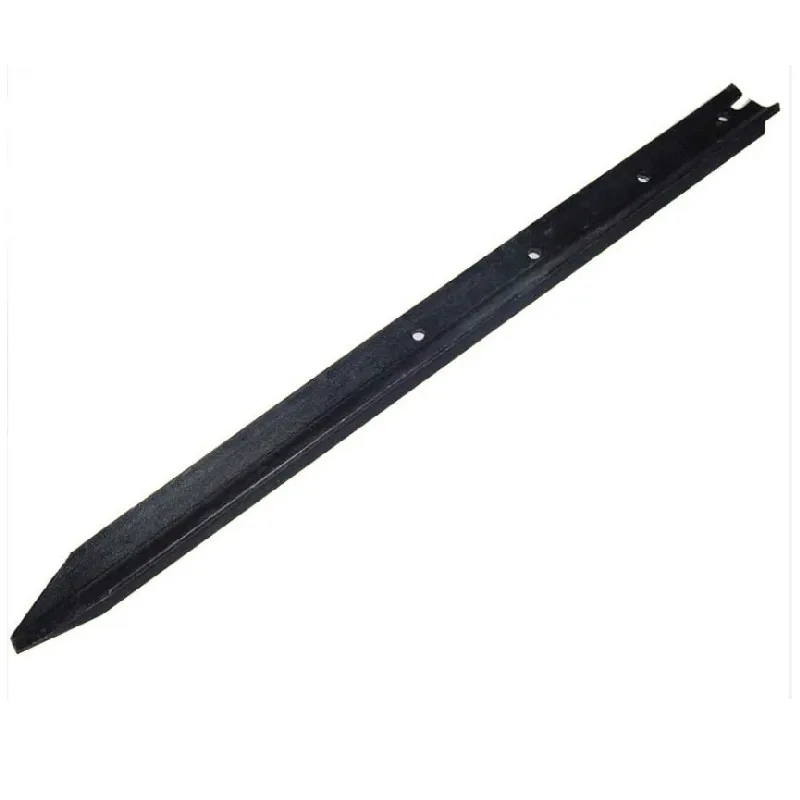
fixing a gate post
Fixing a Gate Post A Step-by-Step Guide
A sturdy and well-aligned gate post is essential for the functionality and security of any gate system. Over time, exposure to the elements, ground movement, and general wear and tear can cause a gate post to lean, become unstable, or even break. If you’ve found yourself facing this issue, fear not! With the right tools, materials, and a bit of patience, you can restore your gate post to its former glory. Here’s a detailed, step-by-step guide on how to fix a gate post effectively.
Step 1 Assess the Damage
Before jumping into the repair, it’s crucial to assess the condition of your gate post. Check if it’s leaning, cracked, or rotting. If it’s a wooden post, look for signs of dry rot or insect damage. For metal posts, check for rust or structural integrity. If the post is leaning but otherwise intact, you might only need to realign and reinforce it. If it’s damaged beyond repair, it may be necessary to replace it entirely.
Step 2 Gather Your Tools and Materials
Once you’ve assessed the damage, gather the following tools and materials
- A level - Post hole digger or shovel - Concrete mix (for new installations or heavy reinforcement) - Gravel (for drainage) - Wood or metal post (replacement if needed) - Power drill and appropriate drill bits - Wood screws or bolts (depending on material) - Safety gear (gloves, goggles)
Step 3 Remove the Old Post (if necessary)
If your gate post is beyond repair, start by removing it. Use a post hole digger or shovel to excavate around the base. This may require some effort, especially if the post is deeply embedded in concrete. Take your time and ensure not to disturb the surrounding area too much.
Step 4 Prepare the New Post or Reinforcement
If you’re replacing the post, cut the new wood or metal post to the appropriate height. Ensure the post is treated to withstand the elements. If you’re repairing an existing post, clean it thoroughly and, if it’s wooden, consider applying a wood preservative to prevent future rot.
Step 5 Set the Post
fixing a gate post
Place the new or repaired post into the hole, ensuring it stands straight. Use a level to check its alignment. If the post is leaning, adjust its positioning until it is perfectly straight. If you’re replacing a post, you might need to use gravel at the bottom of the hole for drainage before setting the post.
Step 6 Fill the Post Hole
Once the post is aligned, fill the hole with concrete mix (for a sturdy hold) or tamped gravel. If using concrete, mix it according to the package instructions and pour it around the post, ensuring it fills all gaps. Allow it to cure for the recommended time, usually around 24-48 hours.
Step 7 Reinforce the Post (if necessary)
If the post is still not as stable as you’d like, consider reinforcing it with brackets or additional support. For wooden posts, attaching horizontal wood supports at the top can help distribute weight. For metal posts, using metal brackets to anchor it to the ground can provide extra stability.
Step 8 Reattach the Gate
Once your post is secure and the concrete has set, it’s time to reattach the gate. Align it with the post and secure it using the appropriate hinges and bolts. Make sure the gate swings freely and doesn’t drag on the ground.
Step 9 Final Adjustments and Maintenance
After reattaching the gate, check for any adjustments. Open and close it a few times to ensure everything is functioning smoothly. Regular maintenance, such as checking for rust on metal posts or retightening screws, can extend the life of your gate system.
Conclusion
Fixing a gate post doesn’t have to be a daunting task. By following these steps, you can ensure your gate operates smoothly and securely. Remember that regular maintenance is key to preventing future issues. With a sturdy gate and post, you’ll enjoy peace of mind knowing your property is secure. Happy repairing!
-
Versatile Sheep and Livestock Hurdles for Sale
NewsApr.14,2025
-
The Rise of BRC Fencing
NewsApr.14,2025
-
High-Quality Cattle and Horse Panels for Sale
NewsApr.14,2025
-
Durable Cattle Fencing Solutions
NewsApr.14,2025
-
Double Wire Fencing Solutions
NewsApr.14,2025
-
360 Degree Protection with 358 Anti-Climb Fences
NewsApr.14,2025