- Afrikaans
- Albanian
- Arabic
- Armenian
- Azerbaijani
- Basque
- Belarusian
- Bengali
- Bosnian
- Bulgarian
- Croatian
- Czech
- Danish
- Dutch
- English
- Esperanto
- Estonian
- Finnish
- French
- Galician
- Georgian
- German
- Greek
- hawaiian
- Hindi
- Hungarian
- Indonesian
- irish
- Italian
- Lao
- Latvian
- Lithuanian
- Luxembourgish
- Macedonian
- Maltese
- Myanmar
- Norwegian
- Polish
- Portuguese
- Romanian
- Russian
- Serbian
- Slovak
- Somali
- Spanish
- Swedish
- Thai
- Turkish
- Turkmen
- Vietnamese
lis . 25, 2024 17:34 Back to list
installing t post
Installing t-Post A Guide for Beginners
When it comes to fencing, one of the most common and essential components is the t-post. T-posts are metal stakes often used in various outdoor applications, including agricultural fencing, garden boundary markers, and livestock enclosures. The durability and versatility of t-posts make them a popular choice among homeowners and professionals alike. This article will provide a step-by-step guide on how to properly install t-posts to ensure a sturdy and secure fence.
Step 1 Gather the Necessary Tools and Materials
Before starting the installation process, ensure you have all the necessary tools and materials. You will need
- T-posts (length depends on your fencing needs) - A t-post driver or a sledgehammer - A measuring tape - A level - A string line or chalk line (optional) - Wire cutters (if using barbed wire or fencing materials) - Safety gloves and eye protection
Step 2 Plan Your Fence Line
Begin by deciding where you want to establish your fence line. Use the measuring tape to determine the length of your fence, marking the corners and gates with stakes or flags. If you want a straight line, consider using a string line or chalk line to guide your installation. This planning step is crucial as it helps you visualize the layout and ensures that the fence will follow a uniform path.
Step 3 Determine the Spacing Between T-Posts
The distance between t-posts can vary based on the type of fencing material you are using and the application of the fence. Typically, t-posts are spaced 8 to 10 feet apart for livestock fencing and up to 12 feet for garden fencing. It’s essential to maintain consistent spacing to ensure the integrity of the structure.
installing t post
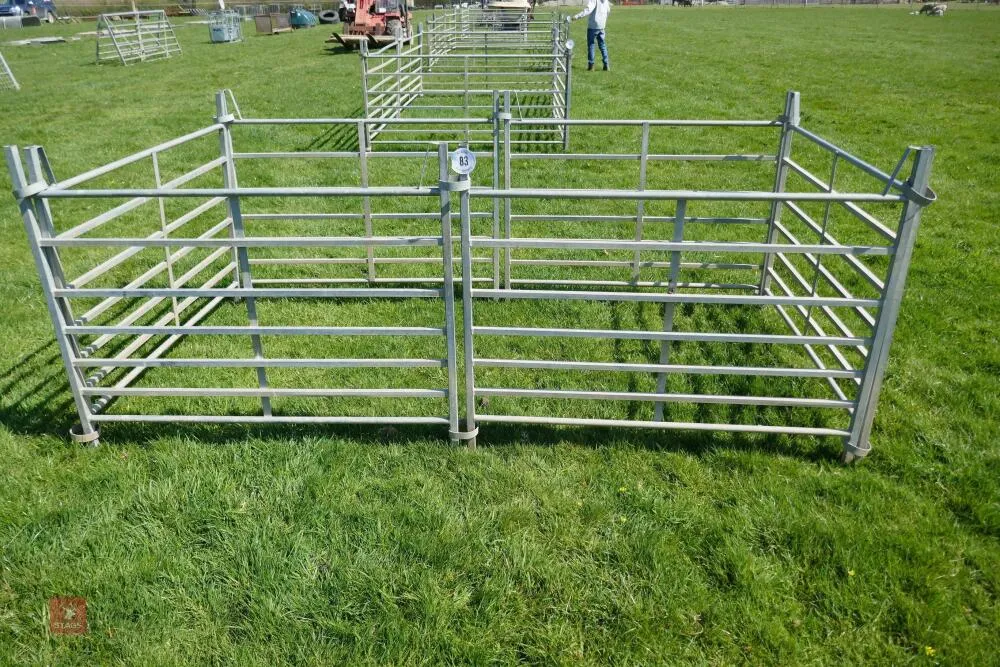
Step 4 Drive the T-Posts into the Ground
Using a t-post driver or a sledgehammer, begin driving the t-posts into the ground at the marked intervals. It is crucial to ensure that the post is vertical; a level can be used to confirm this as you drive them in. The depth should be sufficient to secure the post firmly—usually, one-third of the post should be buried in the ground. Continue this process until all of your t-posts are installed.
Step 5 Attach the Fencing Material
Once your t-posts are securely in place, it’s time to attach your fencing material. Depending on the type of fence you are installing, this may involve
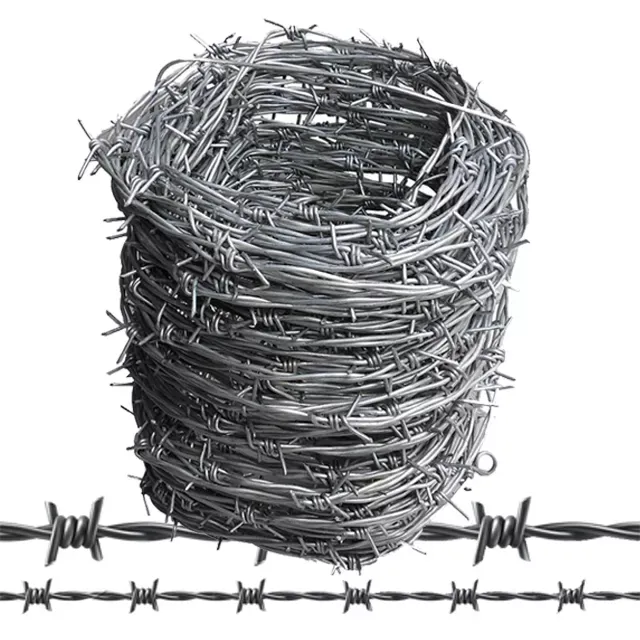
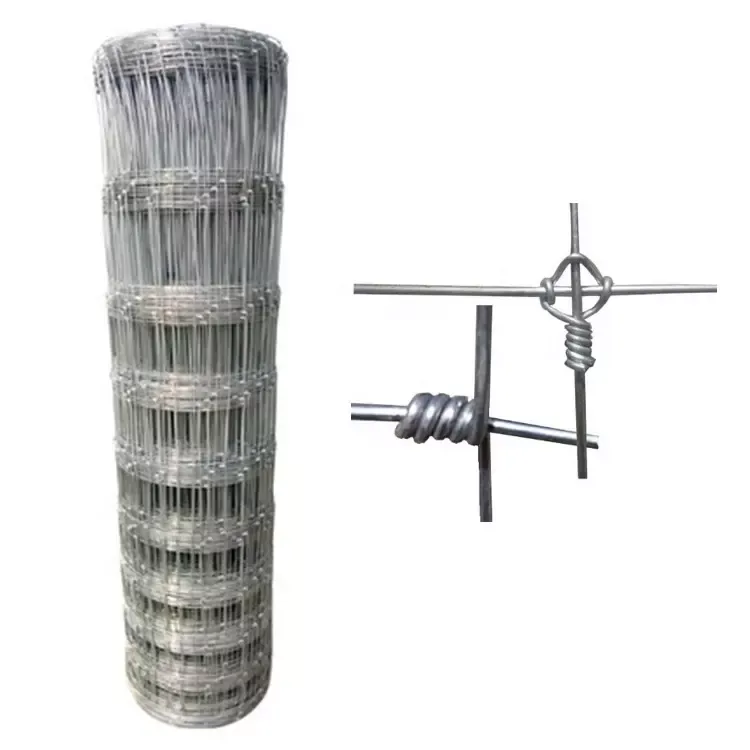
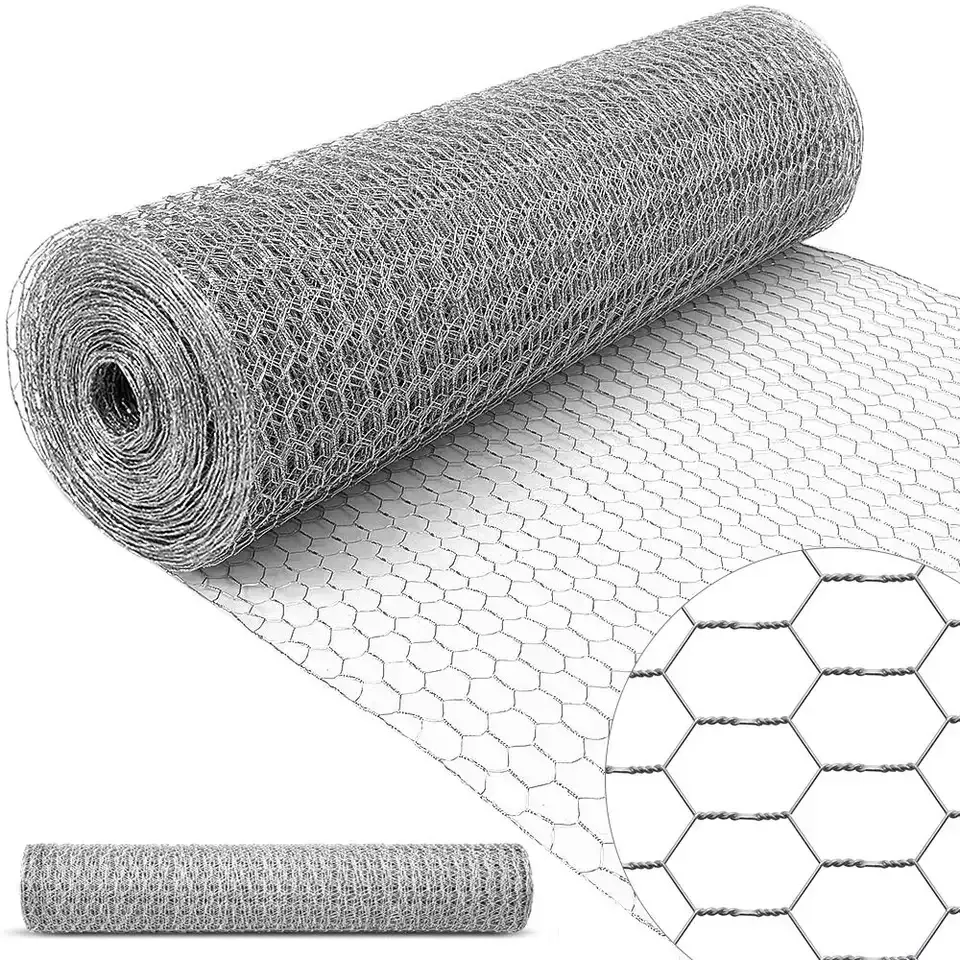
- For wire fencing Using wire clips to attach the wire to the t-posts, making sure to maintain tension throughout the length of the fence. - For barbed wire Attach the barbed wire at the appropriate height, ensuring that it is tight and evenly spaced.
Step 6 Check for Stability and Adjust
After completing the installation of the fencing material, give each section of the fence a gentle pull to check for stability. If any t-posts wobble, you may need to pull them up and reinstall them for better support. Adjustments may be necessary to ensure that the fence is secure and meets your specifications.
Conclusion
Installing t-posts can seem daunting at first, but with the proper tools and a clear plan, it can be a straightforward process. Whether you are building a simple garden fence or a secure enclosure for livestock, ensuring that your t-posts are installed correctly will provide you with a durable and reliable structure. Always remember to follow safety precautions while working, and enjoy the satisfaction of completing your fencing project! With your newly installed t-posts in place, you can rest assured that your property is well-defined and protected.
-
Your Ultimate Solution for Australian Temporary Fencing
NewsMay.14,2025
-
The Ultimate Guide to Crowd Control Barriers: Secure Your Events with Ease
NewsMay.14,2025
-
Secure Your Livestock with High-Quality Livestock Fence Panels
NewsMay.14,2025
-
Enhance Your Livestock Management with Top-Quality Cattle Fences
NewsMay.14,2025
-
Enhance Security and Safety with Temporary Fencing Solutions
NewsMay.14,2025
-
Corral Gates
NewsMay.14,2025


