- Afrikaans
- Albanian
- Arabic
- Armenian
- Azerbaijani
- Basque
- Belarusian
- Bengali
- Bosnian
- Bulgarian
- Croatian
- Czech
- Danish
- Dutch
- English
- Esperanto
- Estonian
- Finnish
- French
- Galician
- Georgian
- German
- Greek
- hawaiian
- Hindi
- Hungarian
- Indonesian
- irish
- Italian
- Lao
- Latvian
- Lithuanian
- Luxembourgish
- Macedonian
- Maltese
- Myanmar
- Norwegian
- Polish
- Portuguese
- Romanian
- Russian
- Serbian
- Slovak
- Somali
- Spanish
- Swedish
- Thai
- Turkish
- Turkmen
- Vietnamese
lis . 19, 2024 00:33 Back to list
chain link fence gate installation
Installing a Chain Link Fence Gate A Comprehensive Guide
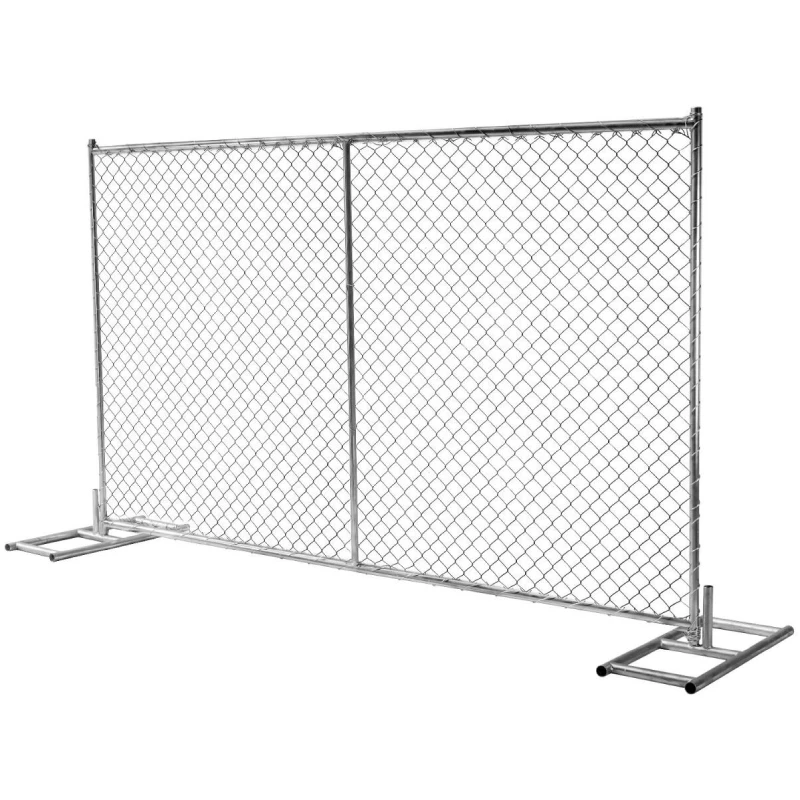
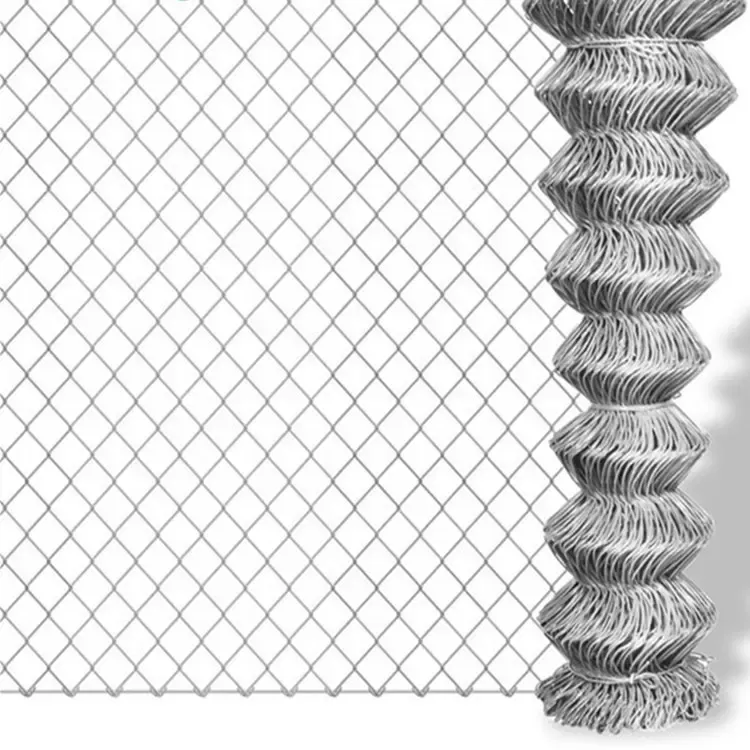
Installing a chain link fence gate can be a handy DIY project that adds both functionality and aesthetic appeal to your property. Whether you are securing your backyard, creating a boundary for your pets, or enhancing your garden's privacy, a chain link fence gate is an excellent choice. This article will guide you through the process of installing a chain link fence gate, ensuring that you achieve a sturdy and efficient entrance to your space.
Materials and Tools Needed
Before you begin the installation, gather the necessary materials and tools. For a standard chain link fence gate, you will need
- Chain link fabric - Fence posts (Terminal posts and Line posts) - Gate frame kit - Hinges - Latch and lock - Tension bands and a tension wire - Chain link fence ties - Concrete mix (for setting posts) - Post hole digger - Level - Tape measure - Wire cutters - Wrench
Step 1 Planning and Preparation
Before making any cuts or digging holes, plan the location of your gate. Measure the width of the opening where the gate will be installed. Standard gate sizes generally range from 3 to 4 feet wide. Make sure that the gate's location allows for smooth opening and closing without obstruction.
Step 2 Setting the Fence Posts
Start by setting the terminal posts on either side of the gate opening. Use a post hole digger to create holes at least 2 feet deep. Place the terminal posts into the holes, ensuring they are level and aligned. Fill the holes with concrete mix to secure the posts in place. Allow the concrete to cure according to the manufacturer's instructions.
Step 3 Assembling the Gate Frame
While the concrete is curing, assemble the gate frame. Most gate kits include pre-cut components that are relatively easy to assemble. Connect the vertical and horizontal pieces using the provided hardware, ensuring the frame is square and sturdy. Once assembled, you can cover the frame with chain link fabric if necessary.
chain link fence gate installation
Step 4 Attaching the Hinges
Once the frame is ready, it's time to attach the hinges. Position the hinges on the gate frame about 6 to 10 inches from the top and bottom of the frame. Secure them firmly using screws or bolts, depending on your gate kit's specifications. Make sure the hinge pins are free of obstructions and can pivot smoothly.
Step 5 Hanging the Gate
With help from another person, lift the gate and position it between the terminal posts. Attach the hinges to the terminal posts, ensuring they are securely fastened. Use a level to check that the gate hangs straight. Adjust the hinges if necessary to achieve an even gap at the bottom of the gate.
Step 6 Installing the Latch
Once the gate is hung, it’s time to install the latch. Position the latch on the opposite side of the hinges and mark the location where it will attach to the terminal post. Drill pilot holes if necessary, then secure the latch using screws. Ensure that it can be easily operated while also providing adequate security.
Step 7 Finishing Touches
To complete your chain link fence gate installation, consider adding a lock for extra security. You can also install additional fencing ties along the edges of the chain link fabric to ensure it is tightly secured to the frame.
Conclusion
Installing a chain link fence gate can greatly enhance your outdoor space, providing a practical entrance while improving security and organization. Following the steps outlined above will help ensure a successful installation. With the right materials, tools, and a bit of effort, you will be enjoying your new gate in no time. Always remember to check local building codes and regulations to ensure compliance during your installation. Happy fencing!
-
Your Ultimate Solution for Australian Temporary Fencing
NewsMay.14,2025
-
The Ultimate Guide to Crowd Control Barriers: Secure Your Events with Ease
NewsMay.14,2025
-
Secure Your Livestock with High-Quality Livestock Fence Panels
NewsMay.14,2025
-
Enhance Your Livestock Management with Top-Quality Cattle Fences
NewsMay.14,2025
-
Enhance Security and Safety with Temporary Fencing Solutions
NewsMay.14,2025
-
Corral Gates
NewsMay.14,2025


