- Afrikaans
- Albanian
- Arabic
- Armenian
- Azerbaijani
- Basque
- Belarusian
- Bengali
- Bosnian
- Bulgarian
- Croatian
- Czech
- Danish
- Dutch
- English
- Esperanto
- Estonian
- Finnish
- French
- Galician
- Georgian
- German
- Greek
- hawaiian
- Hindi
- Hungarian
- Indonesian
- irish
- Italian
- Lao
- Latvian
- Lithuanian
- Luxembourgish
- Macedonian
- Maltese
- Myanmar
- Norwegian
- Polish
- Portuguese
- Romanian
- Russian
- Serbian
- Slovak
- Somali
- Spanish
- Swedish
- Thai
- Turkish
- Turkmen
- Vietnamese
Dec . 25, 2024 13:55 Back to list
Guide to Installing Durable Fence Posts for Your Outdoor Space
Installing Fence Posts A Step-by-Step Guide
Installing fence posts is a crucial step in building a robust fence that can stand the test of time and weather. Whether you're creating a privacy fence, a garden boundary, or a decorative fence, proper installation of the fence posts is essential for stability and durability. This guide will walk you through the process of installing fence posts effectively.
Step 1 Gather Your Materials
Before you begin, gather all necessary materials. You will need
- Fence posts (wood, vinyl, or metal) - Concrete mix - Gravel (for drainage) - A post hole digger or auger - Level - Measuring tape - String and stakes (to mark the line) - Protective gear (gloves, goggles)
Step 2 Plan Your Fence Line
The first step is to plan where your fence will go. Use stakes to mark the corners and ends of your fence line, and run string between the stakes to create a straight line. This will ensure that your fence is aligned properly. Make sure to check with local regulations regarding fence height and property boundaries before you dig any holes.
Step 3 Measure and Dig Holes
Determine the depth of your post holes. A general rule is to bury one-third of the post's length for stability. For example, if you have an 8-foot post, you should dig a hole that is about 2 to 3 feet deep. Measure the holes using your measuring tape. Using a post hole digger or auger, dig out the holes along your marked line, ensuring they are wide enough to accommodate the posts.
Step 4 Add Gravel for Drainage
Once your holes are dug, add a few inches of gravel to the bottom of each hole. This helps with drainage and prevents the wood from rotting, which is especially important for wooden posts. The gravel will also provide a stable base for the post.
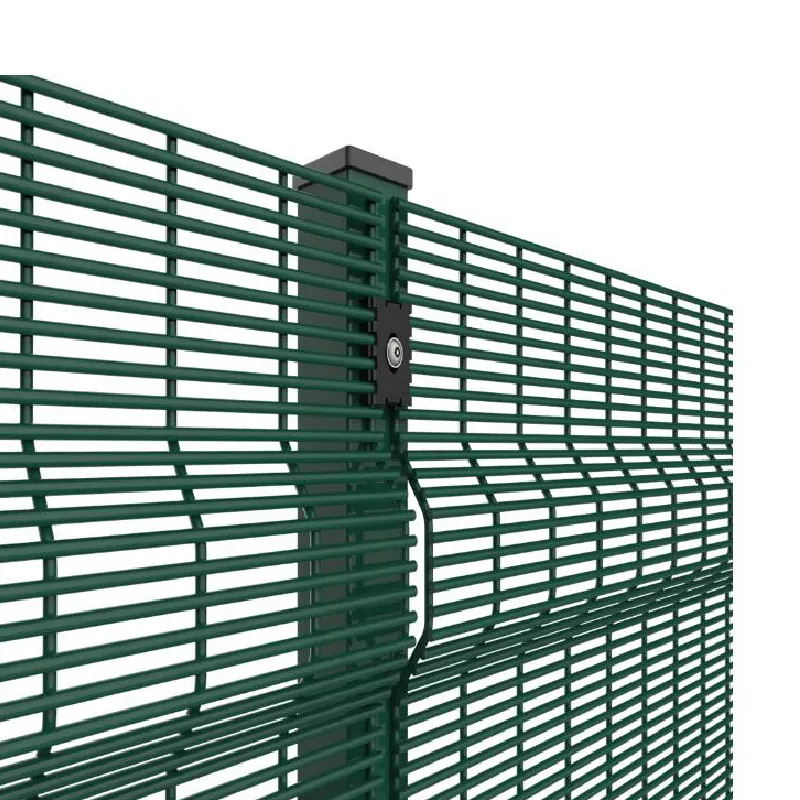
installing fence posts
Step 5 Set the Fence Posts
Now it's time to set your fence posts! Place the post in the center of the hole, ensuring that it is vertical. Use a level to check that it is straight. If the post is leaning, adjust it until it is perfectly vertical. You can tie the post to the string line for a visual guide to ensure alignment with adjacent posts.
Step 6 Fill the Hole
Once your post is positioned correctly, fill the hole with concrete mix. Follow the instructions on the concrete bag regarding the mixing process. If you prefer, you can use quick-setting concrete, which allows you to set the posts quickly. Pour the mixed concrete around the post until the hole is filled, then slope the surface slightly away from the post for water runoff.
Step 7 Allow Concrete to Cure
After you’ve filled the hole with concrete, allow it to cure according to the manufacturer's instructions—typically at least 24 hours. During this time, it is vital not to disturb the posts, as this can cause them to lean or become misaligned.
Step 8 Add the Fence Panels
Once the concrete is cured, you can begin attaching the fence panels to the posts. Depending on the type of fence, you may need to use brackets, screws, or nails to secure the panels. Ensure that each panel is level before securing it in place.
Conclusion
Installing fence posts is a straightforward task, but it requires careful planning and execution to ensure a sturdy and lasting result. By following these steps, you can create a beautiful and functional fence that enhances your property for years to come.
-
The Vital Role of Wire Mesh in Construction
NewsJul.01,2025
-
The Essential Benefits of Welded Wire Mesh
NewsJul.01,2025
-
Secure Your Property with Field Farm Fence
NewsJul.01,2025
-
Expert Chain Link Fence Installation
NewsJul.01,2025
-
Discover the Versatility of Hexagonal Wire Mesh
NewsJul.01,2025
-
Barbed Wire
NewsJul.01,2025


