- Afrikaans
- Albanian
- Arabic
- Armenian
- Azerbaijani
- Basque
- Belarusian
- Bengali
- Bosnian
- Bulgarian
- Croatian
- Czech
- Danish
- Dutch
- English
- Esperanto
- Estonian
- Finnish
- French
- Galician
- Georgian
- German
- Greek
- hawaiian
- Hindi
- Hungarian
- Indonesian
- irish
- Italian
- Lao
- Latvian
- Lithuanian
- Luxembourgish
- Macedonian
- Maltese
- Myanmar
- Norwegian
- Polish
- Portuguese
- Romanian
- Russian
- Serbian
- Slovak
- Somali
- Spanish
- Swedish
- Thai
- Turkish
- Turkmen
- Vietnamese
Nov . 27, 2024 13:02 Back to list
How to Securely Attach Fencing to T Posts for Your Garden or Property
Attaching Fencing to T-Posts A Comprehensive Guide
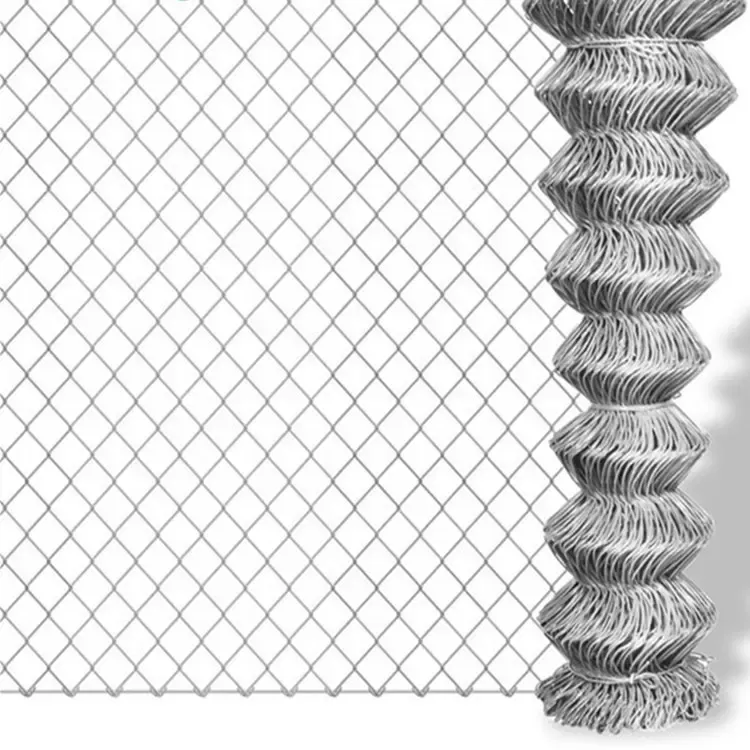
When it comes to installing fencing for your property, choosing the right support structure is crucial. T-posts, known for their strength and durability, are commonly used in the fencing industry. They provide excellent support for various types of fencing, from barbed wire to chain link. However, the effectiveness of the fencing system largely hinges on how well the fencing is attached to these posts. This article will guide you through the process of attaching fencing to T-posts, ensuring a sturdy and reliable perimeter for your land.
Understanding T-Posts
T-posts are typically made from steel, featuring a T-shaped cross-section that provides superior strength compared to traditional wooden posts. They are lightweight yet robust, making them easy to install while still offering the stability needed for fencing. T-posts are available in various heights and coatings, such as galvanized or vinyl, to protect against rust and environmental wear.
Gathering Your Materials
Before you begin, gather the necessary materials for the project
1. T-Posts Ensure you have enough posts based on the length of the fence you are installing. 2. Fencing Material This could include wire fencing, barbed wire, or chain link, depending on your needs. 3. Wire Tensioners If you're using wire fencing, invest in tensioners to maintain proper tightness. 4. Post Driver or Hammer To install the T-posts securely. 5. Wire Cutters and Pliers For cutting and securing the fencing material. 6. Safety Gear Gloves and eye protection are essential for your safety during installation.
Installation Steps
attaching fencing to t posts
1. Planning and Layout Start by marking the perimeter where you will install the fence. This involves measuring the area and deciding on the spacing of the T-posts, typically 8 to 10 feet apart, depending on the type of fencing.
2. Setting the T-Posts Using a post driver or a hammer, drive the T-posts into the ground to a depth of about 2 feet, ensuring they are straight and firmly placed.
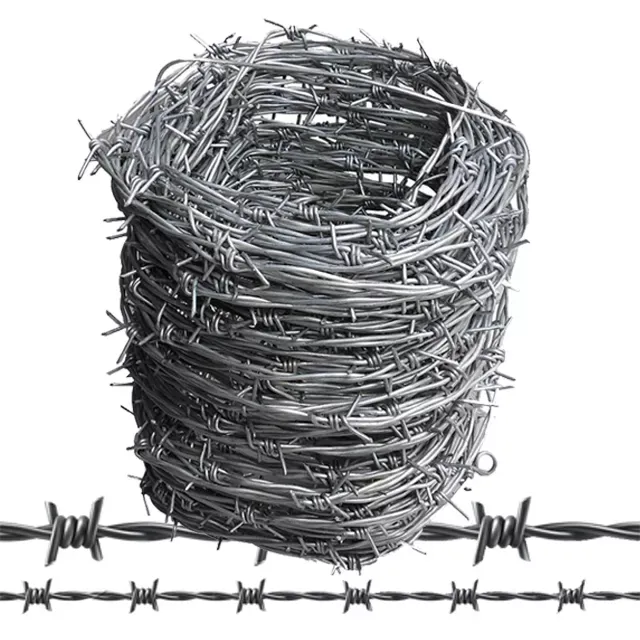
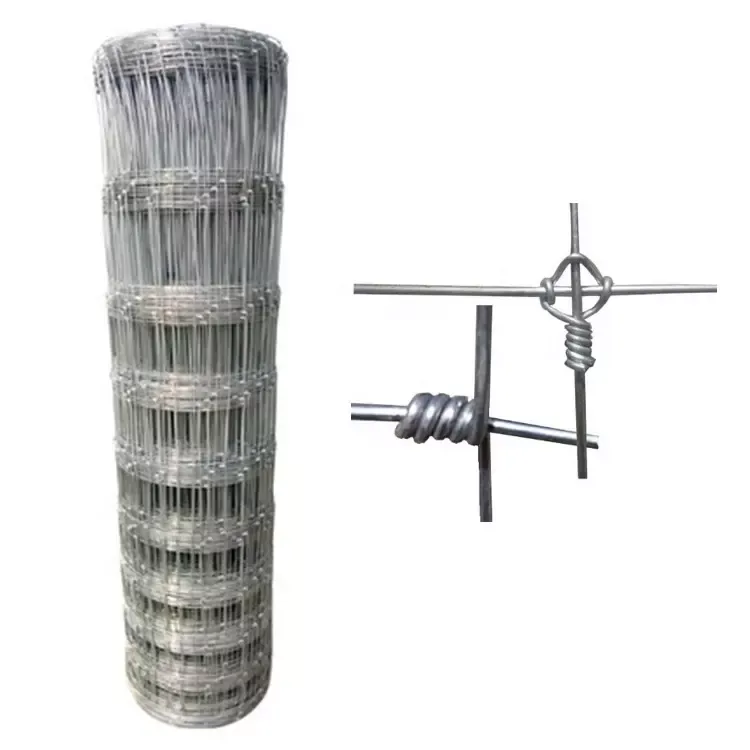
3. Attaching the Fencing Material - For Wire Fencing Begin at one end of the fence line. Attach the bottom edge of the wire fencing to the T-post by threading the wire through the metal tabs or clips on the post. Use wire ties or fencing staples to secure the bottom of the wire. As you work your way up, make sure the wire is taut and even. - For Barbed Wire If you are using barbed wire, start by attaching one end to a T-post. Use a fencing clamp or wire ties to secure it. Maintain tension by wrapping the wire around the post a few times before securing it further down the line. Repeat this process with the additional strands of barbed wire, spacing them appropriately.
4. Adjusting Tension After all fencing is in place, go back and check the tension. Use wire tensioners if necessary to ensure the fence is tight and secure. This is particularly important for barbed wire, which needs to maintain its shape to function effectively.
5. Final Checks Walk along the length of the fence to inspect for any loose sections or weak points. Make adjustments as needed to ensure a robust barrier.
Conclusion
Attaching fencing to T-posts can be a straightforward task if approached methodically. By choosing the right materials, planning carefully, and following the installation steps, you can create a sturdy fence that serves its purpose for years to come. Whether you’re enclosing livestock, protecting your garden, or marking property boundaries, a well-constructed fence is an investment in the safety and integrity of your property. Happy fencing!
-
The Vital Role of Wire Mesh in Construction
NewsJul.01,2025
-
The Essential Benefits of Welded Wire Mesh
NewsJul.01,2025
-
Secure Your Property with Field Farm Fence
NewsJul.01,2025
-
Expert Chain Link Fence Installation
NewsJul.01,2025
-
Discover the Versatility of Hexagonal Wire Mesh
NewsJul.01,2025
-
Barbed Wire
NewsJul.01,2025


