- Afrikaans
- Albanian
- Arabic
- Armenian
- Azerbaijani
- Basque
- Belarusian
- Bengali
- Bosnian
- Bulgarian
- Croatian
- Czech
- Danish
- Dutch
- English
- Esperanto
- Estonian
- Finnish
- French
- Galician
- Georgian
- German
- Greek
- hawaiian
- Hindi
- Hungarian
- Indonesian
- irish
- Italian
- Lao
- Latvian
- Lithuanian
- Luxembourgish
- Macedonian
- Maltese
- Myanmar
- Norwegian
- Polish
- Portuguese
- Romanian
- Russian
- Serbian
- Slovak
- Somali
- Spanish
- Swedish
- Thai
- Turkish
- Turkmen
- Vietnamese
ທ.ວ. . 20, 2024 09:00 Back to list
fix fence post
Fixing a Fence Post A Step-by-Step Guide
A fence is often more than just a boundary marker; it provides privacy, security, and aesthetic appeal to your property. However, over time, fence posts can become loose or damaged due to various factors such as weather conditions, ground shifting, or even accidental impacts. If you find yourself facing this issue, fear not! Fixing a fence post is a manageable DIY project that can save you both time and money. Here’s a comprehensive guide to help you through the process.
Assess the Damage
Before you grab your tools, take a moment to assess the condition of the fence post. Is it leaning but still intact? Is it cracked? Or has it completely rotted at the base? Identifying the type of damage is crucial in determining how to proceed. If the post is merely loose, you might be able to simply re-set it. However, if it is severely damaged or rotted, it may need to be replaced entirely.
Gather Your Materials
Once you've assessed the damage, gather the necessary materials. You will need
- A new fence post (if replacement is necessary) - Concrete mix (for installation) - Gravel (for drainage) - A post hole digger or auger - A level - A hammer or rubber mallet - A shovel - Safety gloves
Remove the Old Post
If you are replacing the fence post, the first step is to remove the old one. Use the post hole digger or a shovel to dig around the base of the post. It’s important to loosen the soil to make it easier to pull out. Once the soil is loose, grip the post and pull it out. If it's stubborn, you may need to wiggle it back and forth or use a pry bar for leverage.
Prepare the New Post
fix fence post
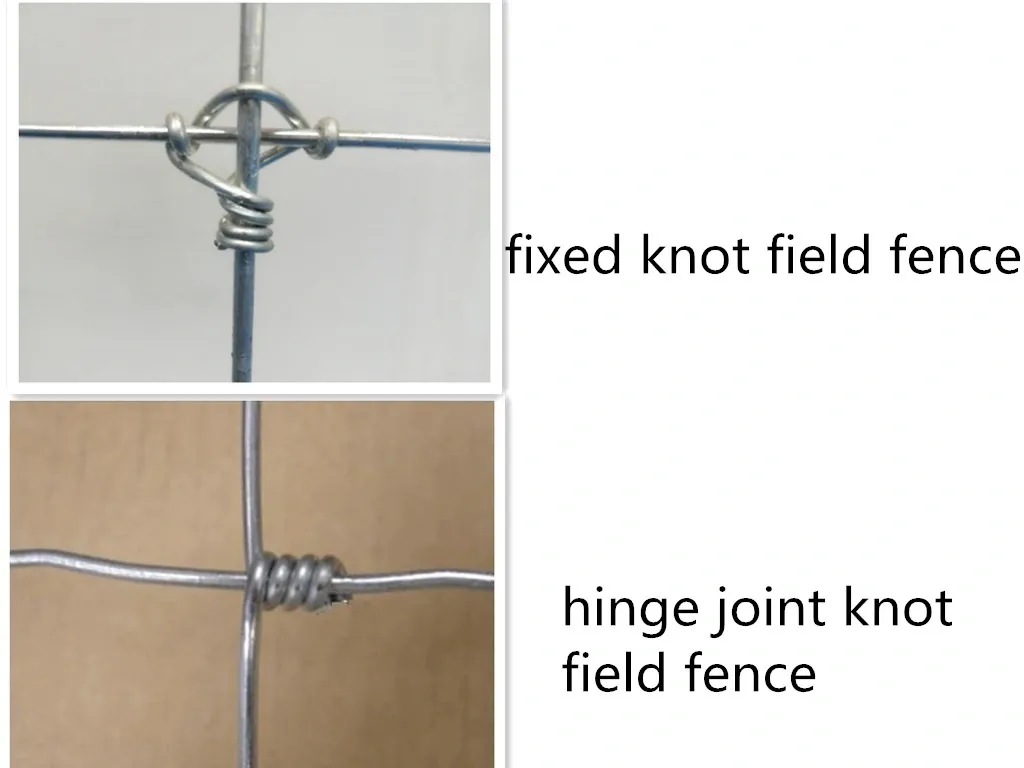
If you're installing a new fence post, ensure that it is the right size and material to match the existing fence. Treat the base of the post with a wood preservative to help prevent rot. For added durability, consider using a galvanized post, which resists rust and wear.
Setting the New Post
Now it’s time to set the new post in place. Start by digging a hole that is at least one-third of the length of the post. A depth of around 2-3 feet is generally suitable depending on the height of the post. Place a few inches of gravel at the bottom for drainage before inserting the post. This will help prevent water from pooling around the base, which can lead to rot.
Once the post is in place, fill the hole with concrete mix, ensuring it’s well-packed around the post. Leave the top of the concrete slightly below ground level and allow it to set for 24-48 hours to harden properly.
Level the Post
Before the concrete fully sets, use a level to ensure the post is straight. Adjust as necessary by adding or removing concrete. This step is crucial, as a crooked post can lead to an uneven fence line.
Final Touches
After the concrete has cured, backfill any remaining holes with dirt. You can also paint or stain the post to match your existing fence for a uniform look.
Conclusion
Fixing a fence post may seem daunting, but with the right tools and a bit of patience, it can be achieved successfully. Not only will this enhance the appearance of your property, but it will also ensure that your fence remains sturdy and functional for years to come. So roll up your sleeves and get to work; your fence will thank you!
-
Your Ultimate Solution for Australian Temporary Fencing
NewsMay.14,2025
-
The Ultimate Guide to Crowd Control Barriers: Secure Your Events with Ease
NewsMay.14,2025
-
Secure Your Livestock with High-Quality Livestock Fence Panels
NewsMay.14,2025
-
Enhance Your Livestock Management with Top-Quality Cattle Fences
NewsMay.14,2025
-
Enhance Security and Safety with Temporary Fencing Solutions
NewsMay.14,2025
-
Corral Gates
NewsMay.14,2025


