- Afrikaans
- Albanian
- Arabic
- Armenian
- Azerbaijani
- Basque
- Belarusian
- Bengali
- Bosnian
- Bulgarian
- Croatian
- Czech
- Danish
- Dutch
- English
- Esperanto
- Estonian
- Finnish
- French
- Galician
- Georgian
- German
- Greek
- hawaiian
- Hindi
- Hungarian
- Indonesian
- irish
- Italian
- Lao
- Latvian
- Lithuanian
- Luxembourgish
- Macedonian
- Maltese
- Myanmar
- Norwegian
- Polish
- Portuguese
- Romanian
- Russian
- Serbian
- Slovak
- Somali
- Spanish
- Swedish
- Thai
- Turkish
- Turkmen
- Vietnamese

Urr . 09, 2024 20:25 Back to list
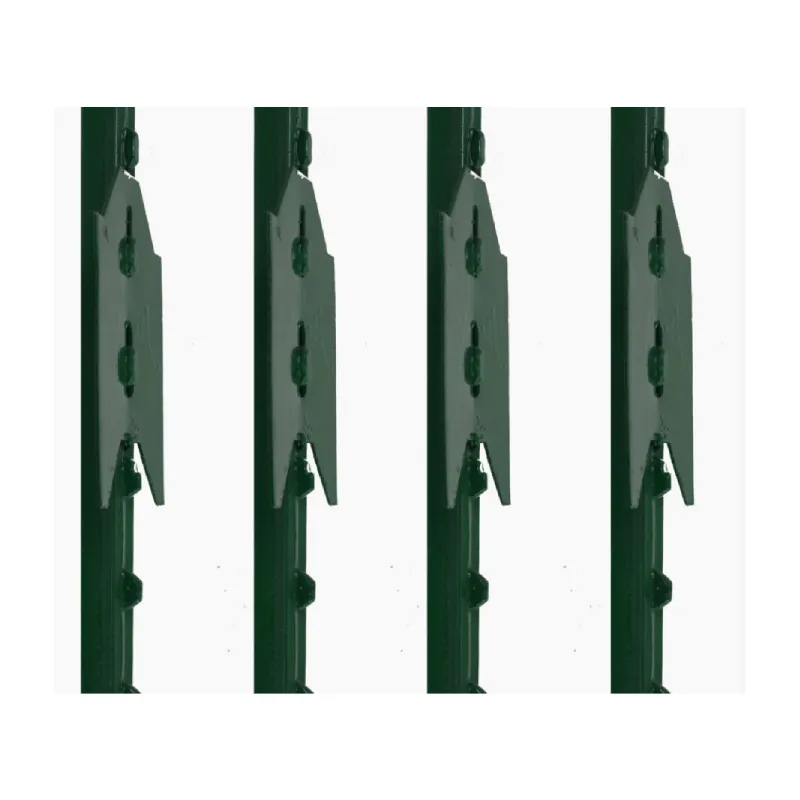
installing metal fence posts
Installing Metal Fence Posts A Comprehensive Guide
When it comes to installing a fence, choosing the right type of materials is crucial for durability and performance. Metal fence posts are widely recognized for their strength and longevity, making them a popular choice among homeowners and contractors alike. This guide will lead you through the process of installing metal fence posts, ensuring that your fence stands strong for years to come.
1. Selecting the Right Materials
Before you begin the installation process, it’s essential to select the proper materials. Metal fence posts come in various types, including galvanized steel, aluminum, and wrought iron. Galvanized steel is often the most cost-effective option, offering excellent resistance to rust and corrosion. Consider the design and purpose of your fence to decide which type of metal suits your needs best.
Additionally, gather the necessary tools and materials for the installation. You will need
- Metal fence posts - Cement or concrete mix (for stability) - Post hole digger or auger - Level - Measuring tape - String line (for alignment) - Gravel (for drainage) - Safety gear (gloves, eyes protection)
2. Planning the Layout
Proper planning is vital for a successful installation. Start by marking the location of the fence line using stakes and a string line. Measure the distance between posts, which typically ranges from 6 to 8 feet depending on the type of fence you are installing. Make sure the line is straight and that all corners are square to ensure a professional-looking result.
Once you have marked your fence line, it’s time to dig the post holes. Use a post hole digger or auger to create holes that are approximately one-third the length of the post deep. For example, if your posts are 6 feet tall, each hole should be about 2 feet deep. The diameter of the hole should be at least three times the width of the post to provide adequate support.
installing metal fence posts
As you dig, it is advisable to add a few inches of gravel to the bottom of each hole for drainage. This prevents water accumulation which can lead to rusting and rotting over time.
4. Setting the Posts
Before setting your posts, check the depth of each hole to ensure uniformity. Place a metal post into the hole and use a level to verify that it’s straight. It's important for the post to be plumb on all sides. Once you are satisfied with its position, fill the hole with a concrete mix or quick-setting cement. Be sure to leave some space at the top of the hole for soil or gravel.
As the concrete sets, continue to check the level to maintain alignment. Allow the concrete to cure for at least 24 to 48 hours before moving on to the next step.
5. Attaching Fencing Panels
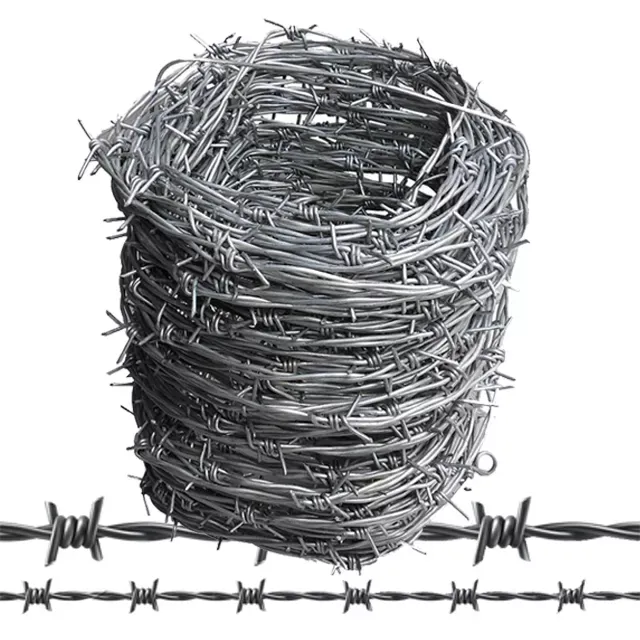
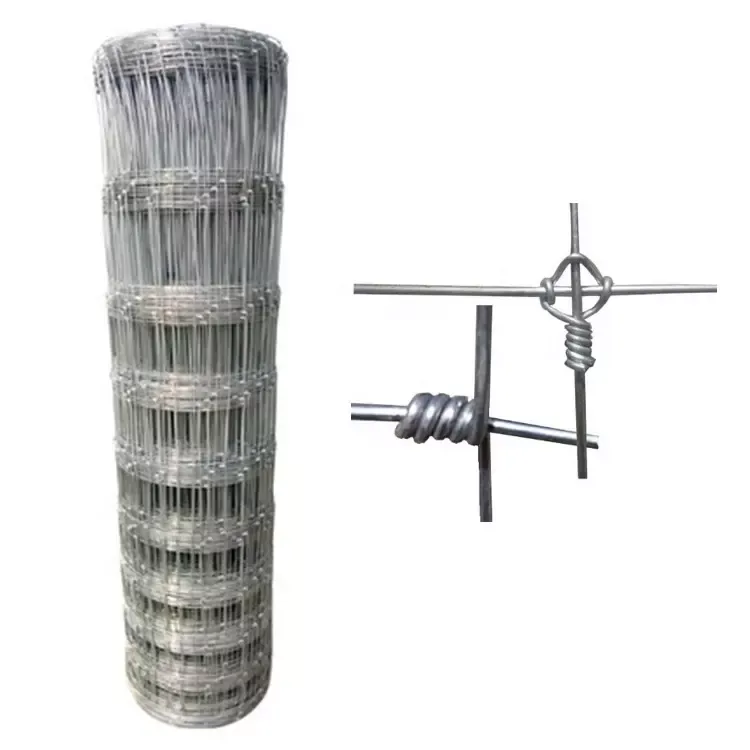
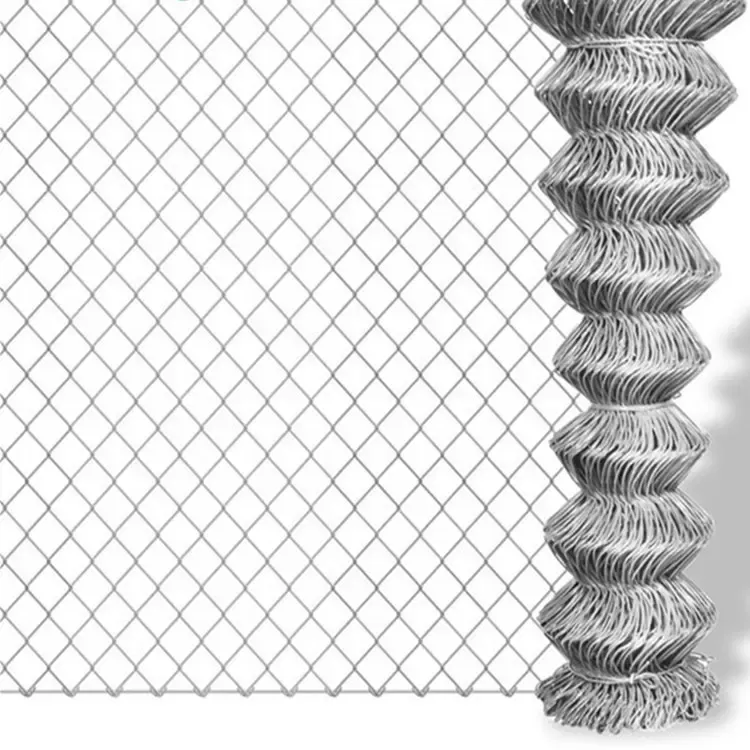
With your fence posts securely in place, it’s time to attach the fencing panels. Depending on your design, you may use brackets, screws, or welding techniques. Ensure each panel is level and evenly spaced from the ground. If you're using chain-link fencing, be sure to tension the wire properly to avoid sagging.
6. Finishing Touches
After installing the panels, consider applying a protective finish to your metal posts to enhance their longevity. A coat of rust-inhibiting paint can help to protect against the elements, especially if you live in an area with harsh weather conditions.
Conclusion
Installing metal fence posts may seem daunting, but with proper planning and the right materials, it can be a straightforward and rewarding project. The durability and strength of metal posts will ensure your fence stands firm, providing security and enhancing the aesthetic appeal of your property. Follow this comprehensive guide to achieve a professional-quality installation that will last for years to come.
-
Versatile Sheep and Livestock Hurdles for Sale
NewsApr.14,2025
-
The Rise of BRC Fencing
NewsApr.14,2025
-
High-Quality Cattle and Horse Panels for Sale
NewsApr.14,2025
-
Durable Cattle Fencing Solutions
NewsApr.14,2025
-
Double Wire Fencing Solutions
NewsApr.14,2025
-
360 Degree Protection with 358 Anti-Climb Fences
NewsApr.14,2025