- Afrikaans
- Albanian
- Arabic
- Armenian
- Azerbaijani
- Basque
- Belarusian
- Bengali
- Bosnian
- Bulgarian
- Croatian
- Czech
- Danish
- Dutch
- English
- Esperanto
- Estonian
- Finnish
- French
- Galician
- Georgian
- German
- Greek
- hawaiian
- Hindi
- Hungarian
- Indonesian
- irish
- Italian
- Lao
- Latvian
- Lithuanian
- Luxembourgish
- Macedonian
- Maltese
- Myanmar
- Norwegian
- Polish
- Portuguese
- Romanian
- Russian
- Serbian
- Slovak
- Somali
- Spanish
- Swedish
- Thai
- Turkish
- Turkmen
- Vietnamese
okt. . 09, 2024 09:30 Back to list
installing field fence with t posts
Installing Field Fence with T-Posts A Comprehensive Guide
When it comes to securing your field or pasture, installing a field fence with T-posts is an effective and straightforward solution. T-posts are sturdy steel posts shaped like a 'T' that provide excellent support for various types of wire fencing. They are particularly helpful when you need to create a durable barrier for livestock, protect crops, or enclose a garden. This guide will walk you through the essential steps for successfully installing a field fence with T-posts.
Materials Needed
Before you begin your installation, gather the following materials
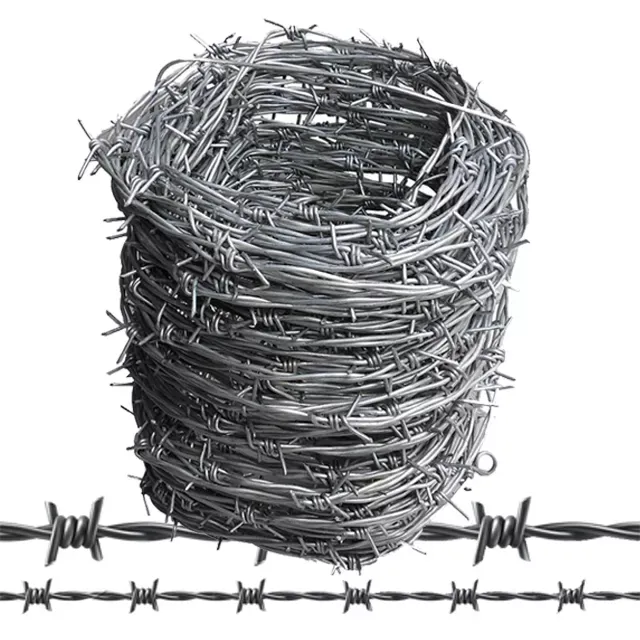
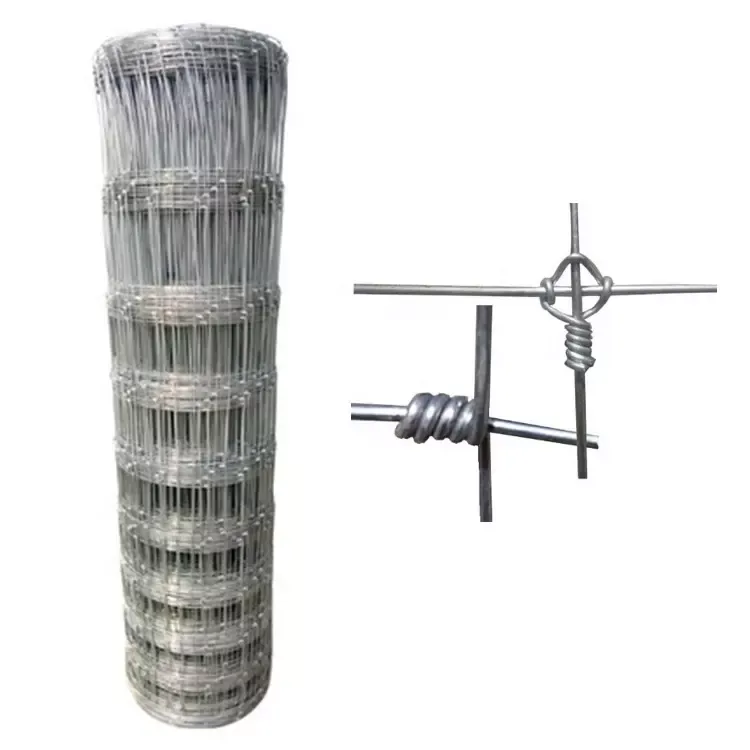
1. T-Posts The number of posts needed will depend on the length of the fence and spacing. Typically, T-posts are spaced about 10 to 12 feet apart. 2. Field Fencing Choose a suitable type of field fencing. Common options include barbed wire, woven wire, or electric fencing. 3. Post Driver or Mallet To drive the T-posts into the ground. 4. Wire Cutters For cutting the fence material. 5. Safety Gear Gloves and safety glasses to protect yourself during the installation.
Step-by-Step Installation Process
Step 1 Planning and Measuring
Begin by planning the layout of your fence. Determine the perimeter you need to enclose and mark the corners and any gates. Use stakes or spray paint to outline the fence line. Measuring the distance accurately ensures that you purchase the right amount of fencing and T-posts.
Step 2 Setting the T-Posts
Once you have marked the layout, it's time to install the T-posts
. Here’s how to do it1. Position the T-Posts Place your first T-post at the starting corner of your fence line. Drive it into the ground to a depth of about 2 to 3 feet, ensuring it's level and upright. 2. Install Additional T-Posts Continue positioning the T-posts along the outlined fence line, maintaining the 10 to 12-foot spacing. Use a post driver or a heavy mallet to drive each post firmly into the ground.
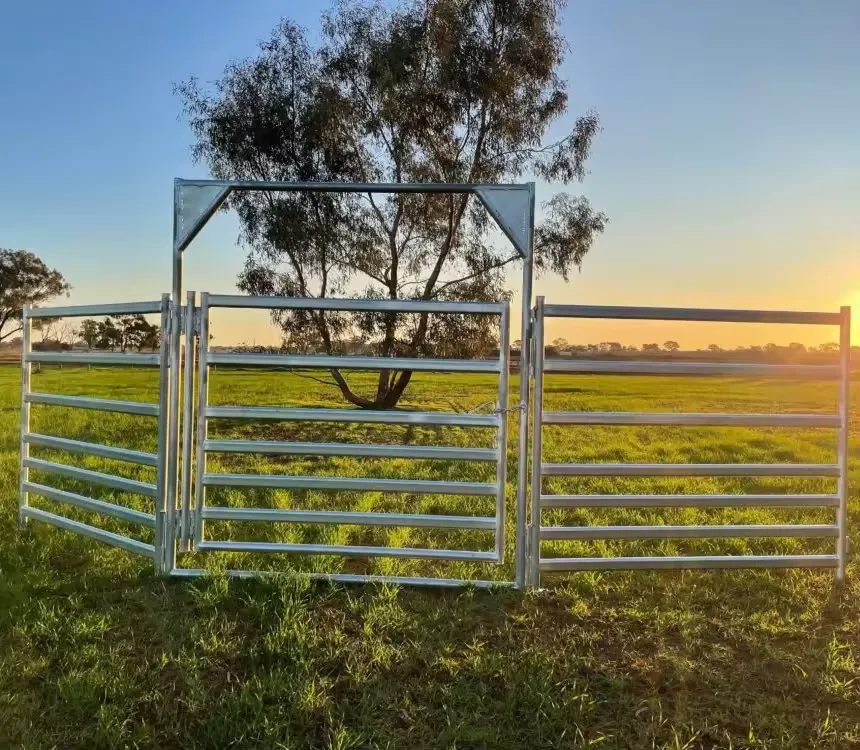
installing field fence with t posts
3. Check Alignment As you install each post, periodically step back and check the alignment. A straight fence not only looks professional but also functions better.
Step 3 Attaching the Fence
With the T-posts in place, it’s time to attach the field fencing.
1. Unroll the Fence Lay your fencing along the installed T-posts, starting from one end and moving to the other. If you're dealing with a lengthy stretch, it may be helpful to have a second person assist you.
2. Attach the Fence Use fence clips or wire to attach the fencing to each T-post. Make sure the wire or clips are tight enough to ensure the fence stays in place but not so tight that it distorts or damages the fencing material.
3. Secure the Ends At the ends of the fence line, ensure that the fencing is securely fastened to the T-posts. A tight and secure end will help prevent animals from pushing through.
Step 4 Final Adjustments and Maintenance
Once the fence is up, step back and check for any loose areas or sagging spots. You may need to adjust tension on the wire or add additional clips for extra support. After your fence is functional, consider a routine maintenance schedule to inspect for wear and tear, especially if you have livestock.
Conclusion
Installing a field fence with T-posts is a rewarding project that can enhance the safety and organization of your property. With the right materials and careful planning, you can create a long-lasting and effective barrier. Whether you are protecting your livestock, crops, or simply demarcating areas, this guide should equip you with the knowledge to successfully complete your fencing project. Happy fencing!
-
Your Ultimate Solution for Australian Temporary Fencing
NewsMay.14,2025
-
The Ultimate Guide to Crowd Control Barriers: Secure Your Events with Ease
NewsMay.14,2025
-
Secure Your Livestock with High-Quality Livestock Fence Panels
NewsMay.14,2025
-
Enhance Your Livestock Management with Top-Quality Cattle Fences
NewsMay.14,2025
-
Enhance Security and Safety with Temporary Fencing Solutions
NewsMay.14,2025
-
Corral Gates
NewsMay.14,2025


