- Afrikaans
- Albanian
- Arabic
- Armenian
- Azerbaijani
- Basque
- Belarusian
- Bengali
- Bosnian
- Bulgarian
- Croatian
- Czech
- Danish
- Dutch
- English
- Esperanto
- Estonian
- Finnish
- French
- Galician
- Georgian
- German
- Greek
- hawaiian
- Hindi
- Hungarian
- Indonesian
- irish
- Italian
- Lao
- Latvian
- Lithuanian
- Luxembourgish
- Macedonian
- Maltese
- Myanmar
- Norwegian
- Polish
- Portuguese
- Romanian
- Russian
- Serbian
- Slovak
- Somali
- Spanish
- Swedish
- Thai
- Turkish
- Turkmen
- Vietnamese
nov . 30, 2024 09:49 Back to list
Expert Tips for Quick and Effective Chain Link Fence Repair
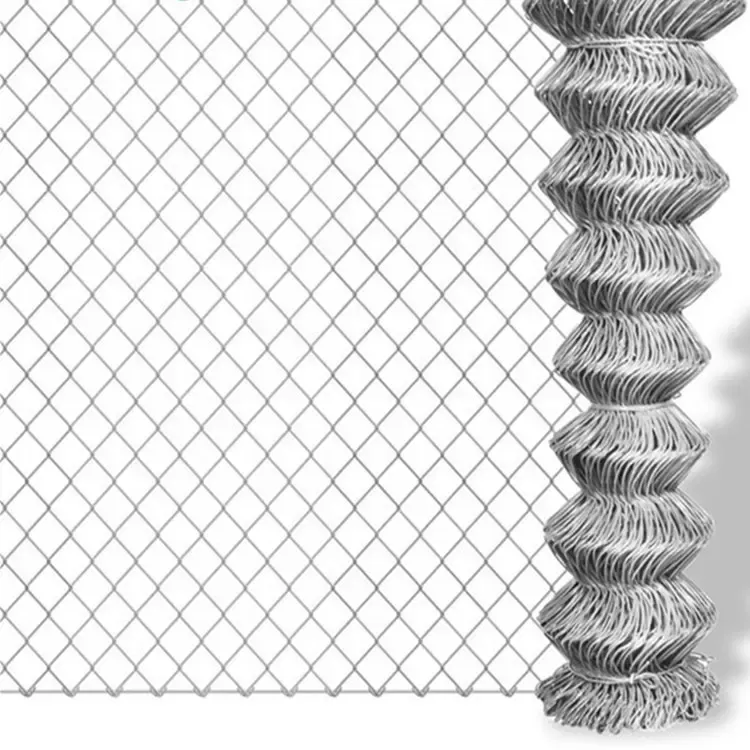
Chain Link Fence Repair A Comprehensive Guide
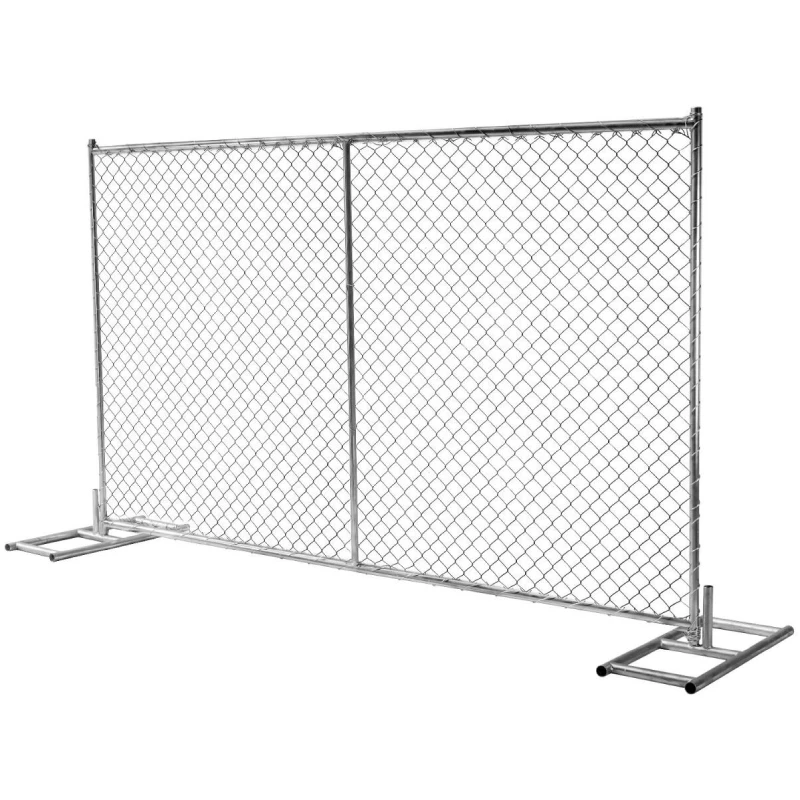
Chain link fences are popular for their durability, affordability, and low maintenance needs. They serve many purposes, from securing a property to enclosing a garden or a pool area. However, over time, even the sturdiest chain link fences can suffer wear and tear due to weather conditions, accidents, or natural degradation. When damage occurs, timely repairs can not only restore the fence's functionality but also enhance the overall appearance of your property. This article will guide you through the process of repairing a chain link fence.
Identifying the Problem
The first step in any repair project is to assess the damage. Common issues with chain link fences include rusted or broken posts, bent or broken chain link fabric, and loose fittings. Start by inspecting the entire length of the fence. Look for rust spots on the chain link, which can usually be addressed with a wire brush or rust-inhibiting paint. If you notice any sections of the fabric that are sagging or have holes, these will require more than just a cosmetic fix.
Tools and Materials Needed
Before diving into the repair process, gather all necessary tools and materials
- Gloves and safety goggles - Wire cutters - A wrench or pliers - Replacement chain link fabric (if needed) - Tension bars and wire ties - A post-level for ensuring straightness - Concrete mix (for loose or broken posts) - Rust-inhibiting paint (optional)
Repairing Chain Link Fabric
If you find a section of the chain link fabric that is broken, you’ll need to replace it. Start by cutting out the damaged section using wire cutters. Measure the length of the replacement fabric needed and procure it from a hardware store or fencing supplier. Attach the new chain link fabric using tension bars secured with wire ties. Make sure to pull the fabric tight to prevent sagging.
chain link fence repair

Fixing Posts
For loose or broken fence posts, the repair process might be a bit more complicated. If a post is leaning, check whether it’s still anchored in the ground. If it's loose, you can reinforce it by digging around the base, straightening it, and adding concrete mix to stabilize it. Allow the concrete to cure fully before re-attaching any chain link fabric to ensure the post is secure.
If a post is broken, it will need to be replaced entirely. To do this, remove the damaged post from its base and dig a new hole for the replacement post. Ensure that the new post is of the same width and height as the old one. After placing the new post in the hole, fill it with concrete and allow it to set.
Finishing Touches
Once all repairs are completed, inspect the fence again for any additional damages or loose fittings. If you see areas that have developed rust, use wire brushes to remove the rust and apply a coat of rust-inhibiting paint to prolong the life of your fence.
Regular maintenance is key to ensuring your chain link fence remains in good condition. Performing frequent inspections and attending to any minor issues promptly can save you time and money in the long run.
Conclusion
Repairing a chain link fence might seem like a daunting task, but with the right tools and a little know-how, it is manageable for most DIY enthusiasts. Regular maintenance and timely repairs can extend the life of your fence and keep your property secure. Embrace the opportunity to tackle this project yourself, and your chain link fence will continue to serve its purpose for many years to come.
-
Your Ultimate Solution for Australian Temporary Fencing
NewsMay.14,2025
-
The Ultimate Guide to Crowd Control Barriers: Secure Your Events with Ease
NewsMay.14,2025
-
Secure Your Livestock with High-Quality Livestock Fence Panels
NewsMay.14,2025
-
Enhance Your Livestock Management with Top-Quality Cattle Fences
NewsMay.14,2025
-
Enhance Security and Safety with Temporary Fencing Solutions
NewsMay.14,2025
-
Corral Gates
NewsMay.14,2025


