- Afrikaans
- Albanian
- Arabic
- Armenian
- Azerbaijani
- Basque
- Belarusian
- Bengali
- Bosnian
- Bulgarian
- Croatian
- Czech
- Danish
- Dutch
- English
- Esperanto
- Estonian
- Finnish
- French
- Galician
- Georgian
- German
- Greek
- hawaiian
- Hindi
- Hungarian
- Indonesian
- irish
- Italian
- Lao
- Latvian
- Lithuanian
- Luxembourgish
- Macedonian
- Maltese
- Myanmar
- Norwegian
- Polish
- Portuguese
- Romanian
- Russian
- Serbian
- Slovak
- Somali
- Spanish
- Swedish
- Thai
- Turkish
- Turkmen
- Vietnamese
Pro . 12, 2024 12:56 Back to list
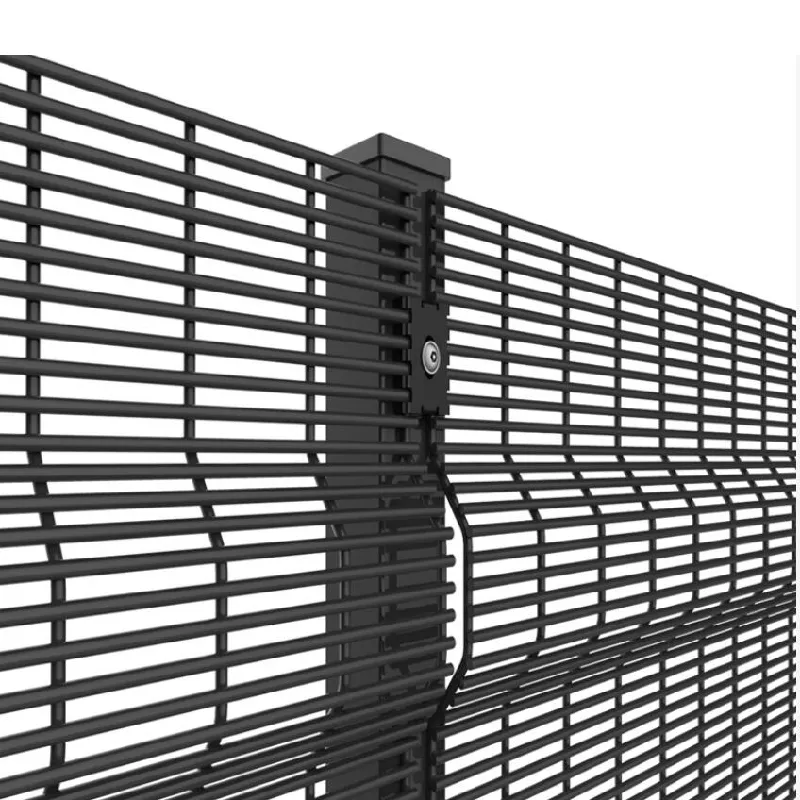
building a wire mesh fence
Building a Wire Mesh Fence A Step-by-Step Guide
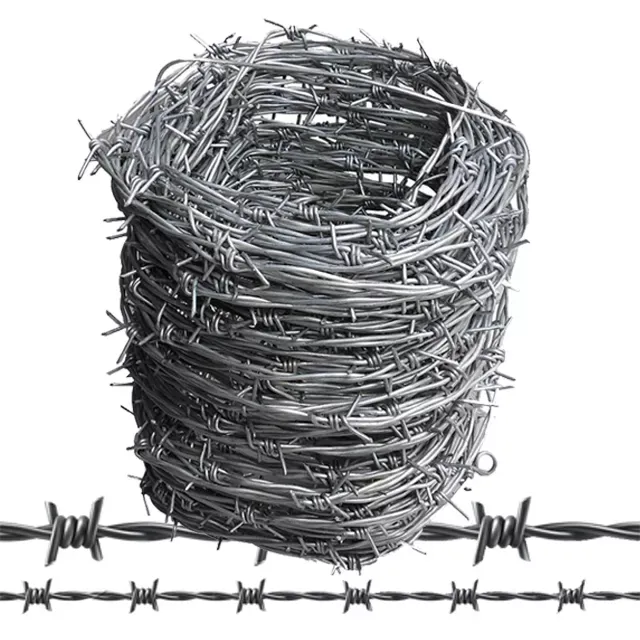
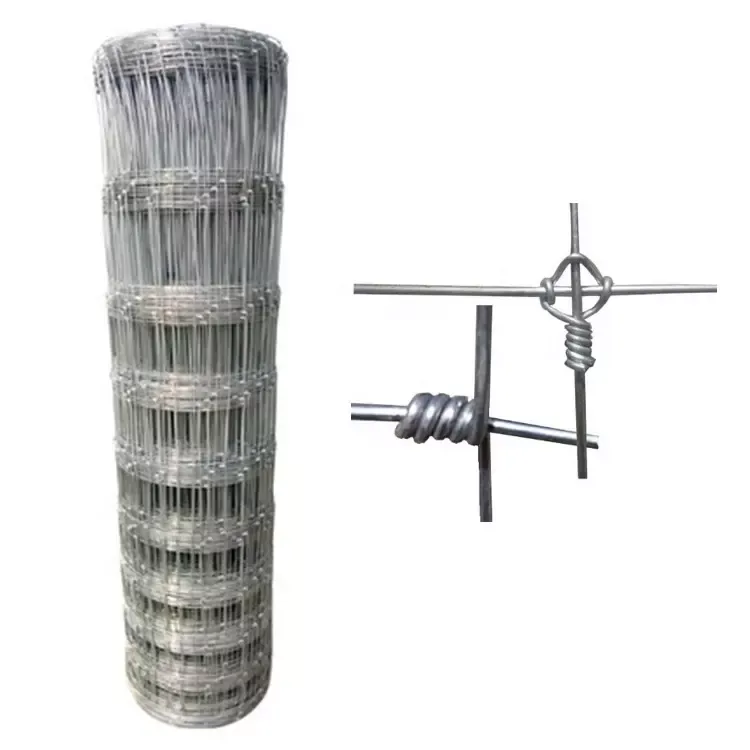
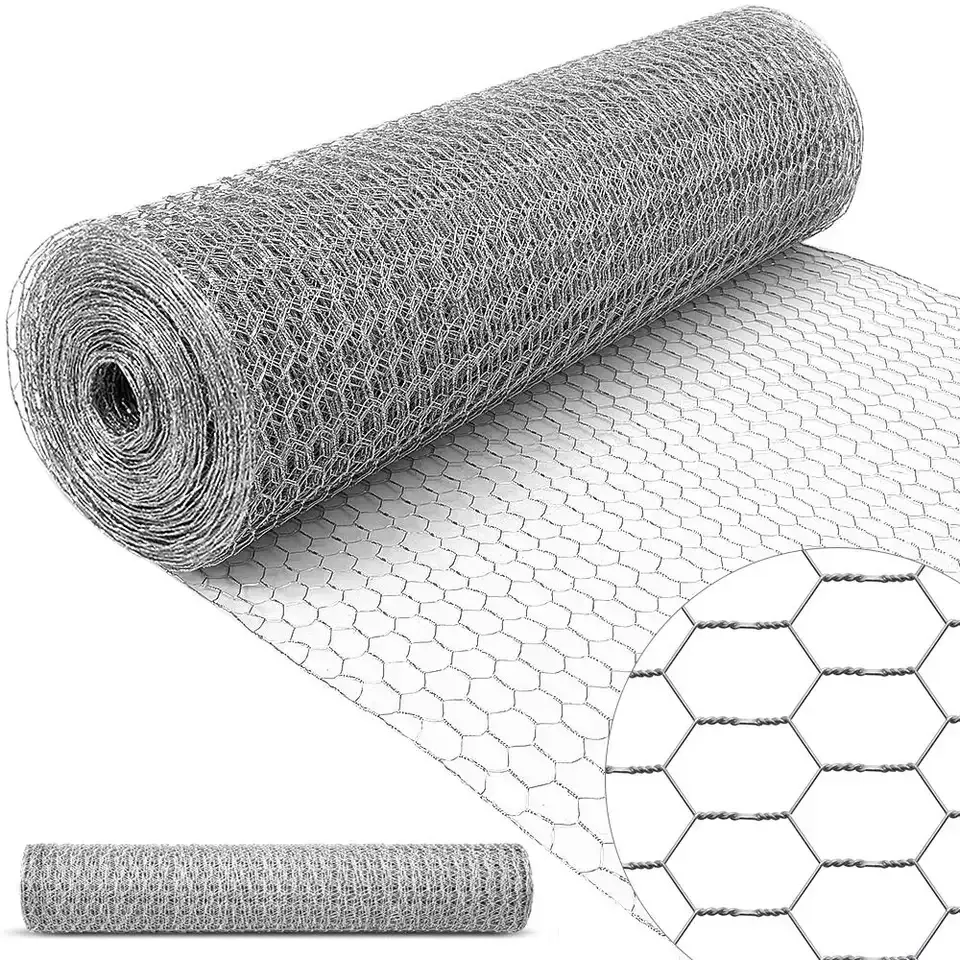
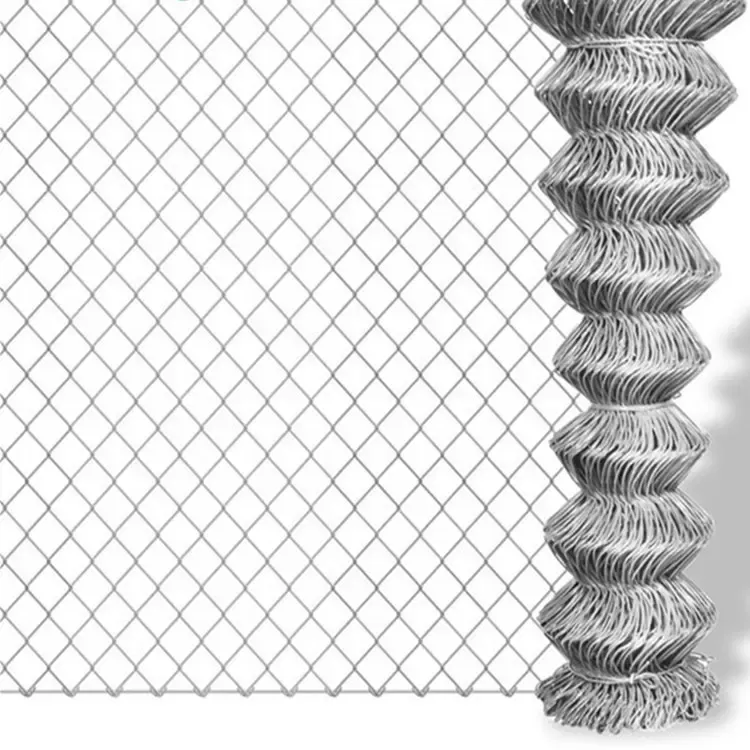
Building a wire mesh fence can provide a durable and cost-effective solution for securing your property. Whether you're looking to enclose your garden, keep pets contained, or create a boundary for livestock, a wire mesh fence offers various benefits, including visibility, ventilation, and relatively low maintenance. This guide will walk you through the steps necessary to build a wire mesh fence efficiently.
Materials Needed
Before starting your project, gather the following materials
1. Wire Mesh Choose between galvanized or vinyl-coated wire mesh for corrosion resistance and longevity. 2. Fence Posts Wooden, metal, or vinyl posts depending on your preference. 3. Concrete Mix For setting the posts securely in the ground. 4. Tools Wire cutters, post driver or sledgehammer, measuring tape, level, and a drill. 5. Gate Hardware If you plan to include a gate, ensure you have hinges, latches, and a gate frame.
Step 1 Planning Your Fence
Begin by thoroughly planning where you want your fence to be installed. Use stakes and string to outline the perimeter, ensuring the fence follows the desired path. Measure the total length of the fence to determine how much wire mesh and how many posts you will need. It’s also crucial to check for any property lines and local regulations regarding fence construction.
Step 2 Marking Post Locations
Once the perimeter is outlined, it’s time to mark where the posts will be placed. Typically, posts should be spaced about 6 to 8 feet apart. Use the measuring tape to measure the distances and mark with stakes or spray paint. Remember to allow for any gates you may want to install.
Step 3 Digging Post Holes
Next, dig post holes at least one-third the height of the posts into the ground, ensuring the holes are deep enough for stability. The width of the holes should be about three times the width of the posts to allow for concrete.
building a wire mesh fence
Step 4 Setting the Posts
Place the posts into the holes, ensuring they are level and vertically straight. Use a leveling tool to verify the alignment. Pour concrete mix into the holes around the posts and add water according to the manufacturer's instructions. Allow the concrete to cure for at least 24 to 48 hours before proceeding.
Step 5 Attaching the Wire Mesh
After the concrete has set, it’s time to attach the wire mesh to the posts. Start at one end of the fence and roll out the wire mesh along the posts. Use staples or wire clamps to secure the mesh to each post, ensuring that it is taut and evenly distributed. If the fence runs across uneven terrain, make adjustments to maintain an even height.
Step 6 Finishing Touches
Once the wire mesh is secured, trim any excess wire at the end of the fence. If you included gates in your plan, install the hardware according to the instructions provided. Ensure that everything operates smoothly before finishing the project.
Step 7 Maintenance
To maintain the lifespan of your wire mesh fence, regularly check for any rust or damage, especially if using a non-galvanized mesh. Keep the area around the fence clear of weeds and debris to prevent them from pushing against the wire over time.
Conclusion
Building a wire mesh fence is a manageable DIY project that can significantly enhance your property’s security and aesthetic appeal. By following these steps, you can create a functional barrier that meets your needs while also adding a neat appearance to your property. With some effort, tools, and the right materials, your wire mesh fence will serve you well for years to come. Happy fencing!
-
comprehensive-guide-to-wire-mesh-solutions-security-durability-and-customization
NewsAug.24,2025
-
comprehensive-guide-to-welded-fencing-solutions-durability-security-and-style
NewsAug.24,2025
-
comprehensive-guide-to-livestock-fence-panels-safety-and-efficiency-for-your-animals
NewsAug.24,2025
-
comprehensive-guide-to-temporary-fencing-solutions-from-construction-sites-to-events
NewsAug.24,2025
-
hebei-dunqiang-hardware-mesh-co-ltd--your-reliable-partner-in-wire-mesh-solutions
NewsAug.24,2025
-
hebei-dunqiang-hardware-mesh-co-ltd--a-leading-force-in-wire-mesh-china
NewsAug.24,2025


