- Afrikaans
- Albanian
- Arabic
- Armenian
- Azerbaijani
- Basque
- Belarusian
- Bengali
- Bosnian
- Bulgarian
- Croatian
- Czech
- Danish
- Dutch
- English
- Esperanto
- Estonian
- Finnish
- French
- Galician
- Georgian
- German
- Greek
- hawaiian
- Hindi
- Hungarian
- Indonesian
- irish
- Italian
- Lao
- Latvian
- Lithuanian
- Luxembourgish
- Macedonian
- Maltese
- Myanmar
- Norwegian
- Polish
- Portuguese
- Romanian
- Russian
- Serbian
- Slovak
- Somali
- Spanish
- Swedish
- Thai
- Turkish
- Turkmen
- Vietnamese
dec . 31, 2024 16:33 Back to list
How to Properly Install a Chain Link Fence Gate for Your Property
The Ultimate Guide to Chain Link Fence Gate Installation
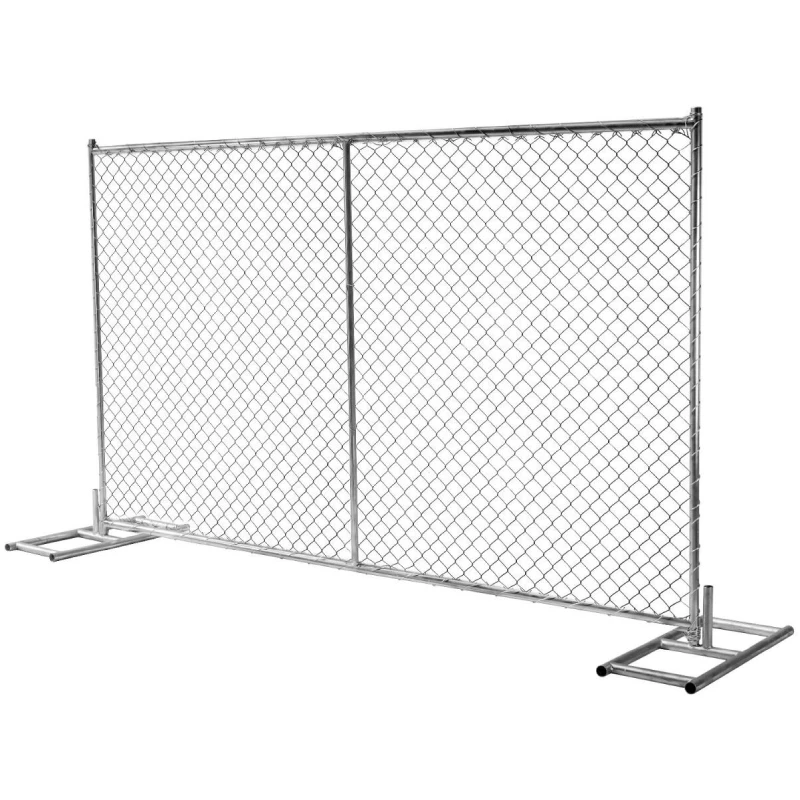
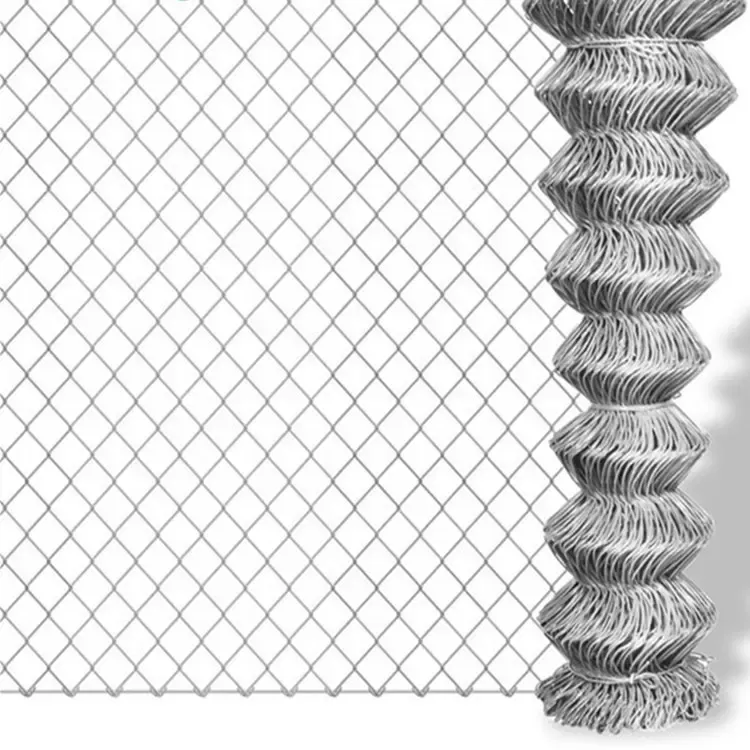
Chain link fences are a popular choice for homeowners and businesses alike, providing an effective barrier while maintaining visibility and airflow. Installing a chain link fence gate can be a straightforward project for those who are handy, but it’s essential to understand the steps involved to ensure a proper and secure installation. In this guide, we will walk you through the process of installing a chain link fence gate.
Tools and Materials Needed
Before you begin, gather all necessary tools and materials. You will need - Chain link fence panels - Gate frame (usually tubular steel) - Hinges - Locking mechanism - Concrete mix - Post hole digger or auger - Wrench set - Level - Measuring tape - Wire cutters - Safety gear (gloves, goggles)
Step 1 Planning Your Gate Location
The first step is to determine where you want to install your chain link fence gate. Consider factors such as accessibility, convenience, and aesthetics. Once you have chosen the location, measure the width needed for the gate. Standard widths range from 3 to 6 feet, but you can customize based on your needs.
Step 2 Preparing the Gate Posts
Next, you will need to install the gate posts. These must be sturdy, as they will support the weight of the gate. Use the post hole digger or auger to dig holes for your gate posts, ensuring they are deep enough to provide stability (around 2-3 feet, depending on your local regulations). The holes should be slightly wider than the posts, allowing space for concrete.
Insert the gate posts into the holes and use a level to ensure they are plumb (vertically straight). Once positioned correctly, fill the holes with concrete to secure them. Allow the concrete to cure, following the manufacturer’s instructions, typically for at least 24 hours.
Step 3 Constructing the Gate Frame
chain link fence gate installation
While the concrete cures, you can start building the gate frame. Cut the frame materials to the desired size using wire cutters and assemble it using hinges. Ensure the frame is square and fits well within the gate posts. If you have additional panels to attach, make sure they match the height of your fence.
Step 4 Attaching the Gate Frame
After the concrete has set, it's time to attach the gate frame to the posts. Position the hinges on one side of the frame and attach them securely to the gate post using screws or bolts. Ensure the frame swings freely before securing the opposite side with a latch.
Step 5 Installing the Gate
With the frame secured to the post, carefully lift it into place. Check again for level and alignment. If necessary, make adjustments before finalizing the attachment of the other hinge to the second post. Once the gate is securely attached, test it to ensure it opens and closes smoothly.
Step 6 Final Touches
Finally, install any locking mechanisms or additional hardware. Make sure all screws are tight and that the gate functions properly. Optionally, you may want to attach wind braces or additional support to ensure durability against the elements.
Conclusion
Installing a chain link fence gate may seem daunting, but with the right tools and a bit of patience, you can successfully complete the project. Following these steps will not only enhance your property’s security but also add to its functionality. With proper installation and maintenance, your chain link fence gate will serve you well for years to come.
-
Your Ultimate Solution for Australian Temporary Fencing
NewsMay.14,2025
-
The Ultimate Guide to Crowd Control Barriers: Secure Your Events with Ease
NewsMay.14,2025
-
Secure Your Livestock with High-Quality Livestock Fence Panels
NewsMay.14,2025
-
Enhance Your Livestock Management with Top-Quality Cattle Fences
NewsMay.14,2025
-
Enhance Security and Safety with Temporary Fencing Solutions
NewsMay.14,2025
-
Corral Gates
NewsMay.14,2025


