- Afrikaans
- Albanian
- Arabic
- Armenian
- Azerbaijani
- Basque
- Belarusian
- Bengali
- Bosnian
- Bulgarian
- Croatian
- Czech
- Danish
- Dutch
- English
- Esperanto
- Estonian
- Finnish
- French
- Galician
- Georgian
- German
- Greek
- hawaiian
- Hindi
- Hungarian
- Indonesian
- irish
- Italian
- Lao
- Latvian
- Lithuanian
- Luxembourgish
- Macedonian
- Maltese
- Myanmar
- Norwegian
- Polish
- Portuguese
- Romanian
- Russian
- Serbian
- Slovak
- Somali
- Spanish
- Swedish
- Thai
- Turkish
- Turkmen
- Vietnamese

снеж . 05, 2024 04:55 Back to list
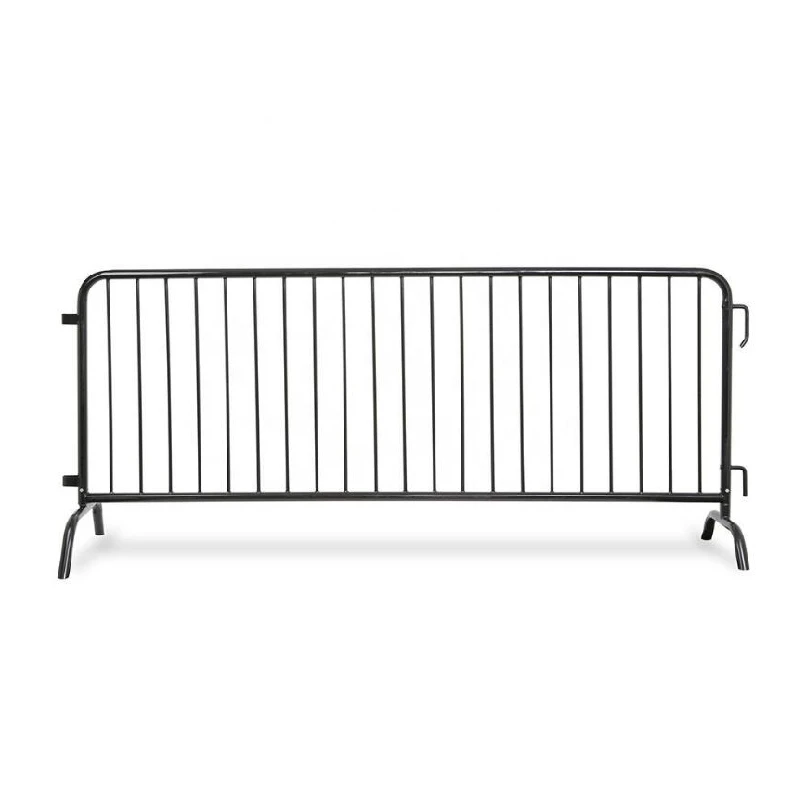
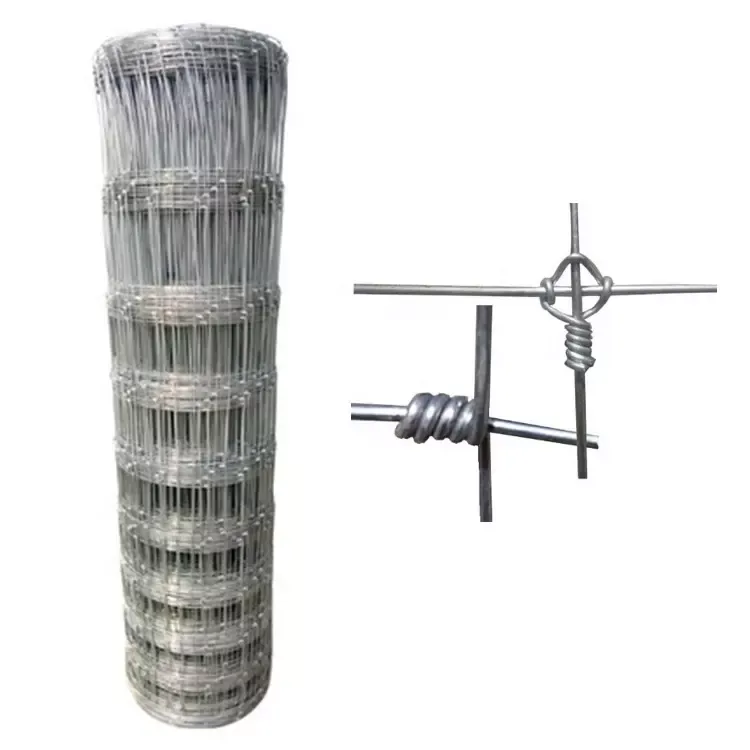
5 ft fence post
Understanding 5% Fence Post Slope A Guide to Optimal Fence Installation
When it comes to erecting a sturdy fence in your backyard, the angle of the fence posts can play a significant role in the overall stability and durability of the structure. One aspect that often comes up during the planning and construction phase is the slope of the fence posts. In this article, we will explore the concept of a 5% slope in fence posts, why it matters, and how to achieve it.
What Does a 5% Slope Mean?
A 5% slope indicates that for every 100 units of horizontal distance, the elevation changes by 5 units. In the context of fence posts, this means that when you install your posts, they should not be perfectly vertical but should tilt slightly towards the direction of the intended slope. This slight angle prevents water pooling at the base of the fence, which can lead to wood rot, rusting of metal posts, and other long-term damages.
Why is a Slope Important?
1. Water Drainage One of the primary reasons for including a slight slope in fence posts is to ensure proper water drainage. Without a slope, water can gather around the base of the posts, leading to accelerated decay and undermining the structural integrity of the fence.
2. Enhanced Stability Properly installed fence posts with a slight slope can provide better resistance to wind and other environmental elements. A fence that leans or wobbles can cause damage not only to itself but also to surrounding property.
3. Aesthetic Appeal While the primary focus may be on functionality, an even and well-constructed fence contributes significantly to the overall aesthetic appeal of your landscape. A slight slope can help maintain a uniform appearance, especially on hilly or uneven terrain.
How to Achieve a 5% Slope in Fence Posts
5 ft fence post

Achieving that perfect 5% slope during installation may seem daunting, but with the right tools and techniques, it can be relatively straightforward.
1. Assess the Terrain Start by evaluating the land where the fence will be installed. Identify any slopes or uneven spots that might affect the fence's installation.
2. Mark Your Fence Line Use stakes and string to mark the planned fence line. This helps visualize where the posts will go and ensures they are straight and evenly spaced.
3. Use a Level As you set each post in concrete, use a level to ensure that it is not completely vertical. Instead, aim for a slight tilt in the direction of the slope. For a 5% slope, this means each post should lean a bit away from the fence’s back, which is most commonly the uphill side.
4. Measure and Adjust As you install each post, periodically measure the distance from the top of each post to the ground at the base. Make sure that the height difference between posts adheres to the 5% guideline. This may require adjusting the depth of some posts or altering your approach to the overall installation.
5. Secure the Posts Once you have positioned the posts at the correct angle, mix and pour concrete to secure them in place. Allow ample time for the concrete to cure before attaching the fence panels or slats.
Conclusion
Installing a fence with a 5% slope might be an added step, but the long-term benefits are undeniable. By prioritizing proper drainage and stability, you contribute to the longevity of your fence and safeguard your property from water damage. Whether you're an experienced DIYer or a first-time builder, understanding the importance of this slight slope will allow you to construct a sturdy and visually appealing fence that withstands the test of time. So, gather your materials, leverage the tips provided, and enjoy the satisfaction of a well-built fence in your outdoor space.
-
Versatile Sheep and Livestock Hurdles for Sale
NewsApr.14,2025
-
The Rise of BRC Fencing
NewsApr.14,2025
-
High-Quality Cattle and Horse Panels for Sale
NewsApr.14,2025
-
Durable Cattle Fencing Solutions
NewsApr.14,2025
-
Double Wire Fencing Solutions
NewsApr.14,2025
-
360 Degree Protection with 358 Anti-Climb Fences
NewsApr.14,2025